
As an online instructor, your primary task is to teach your passion the right way – and to do so, you need to make quality videos. How? Use the right equipment and video creation techniques from the comfort of your own home.
Here are a few tips to help you create professional and great-looking videos for your online teaching programs.
In this article:
- Equipment
- Lighting
- Set up and Location
- Video Editing Software
Equipment
There are three main equipment components that you need for video recording:
1. Microphones
Clear voice-over is of the utmost importance when recording instructional videos. When people are learning, they should be able to hear you clearly and understand you from the get-go.
The Best Microphones for Video Content Creation:
We recommend using an external microphone as opposed to your smartphone or a microphone built into your computer.
No matter what camera you choose – there are many microphone options to pair it with. Here are a few mic types to choose from:
- Condenser Mic – Plug into your computer and record voice-overs. But watch out for these mics catching background noises.
- Dynamic Mic – Use these for clear and non-distorted voice-overs with little background noise. Ideal for voice-over artists and musicians.
- Lavalier Mic – Clip this wireless mic onto your shirt while you’re instructing. This is great for you if you train and record while on the go.
Microphone Recommendations:
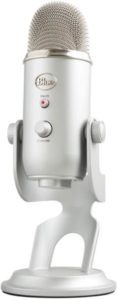
Blue Yeti USB Microphone – $129
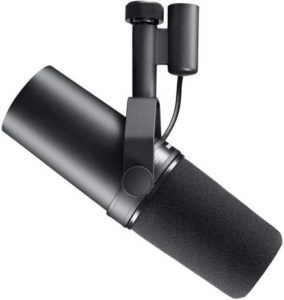
Shure SM7B Vocal Dynamic Microphone – $399
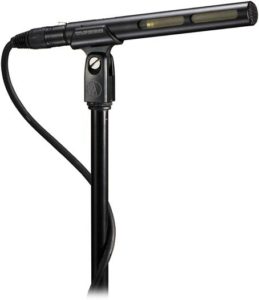
Audio-Technica AT875R Line / Gradient Shotgun Condenser Microphone – $169
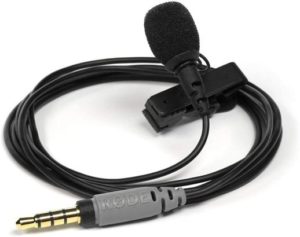
Rode SmartLav+ Omnidirectional Lavalier Microphone – $90
2. Cameras
One of the first things you will need to think about is your video camera. There are three options:
Use a Smartphone: If you’re on a budget – consider using your smartphone as a video camera. Most smartphones, such as the latest versions of Samsung or iPhones, have great camera capabilities.
Get a Webcam: If you want something that will not break the bank but still does a decent job and is better than your current built-in computer cam – consider webcams as an option.
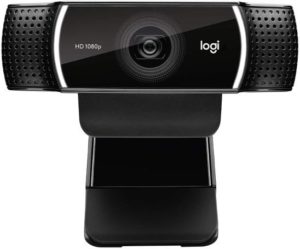
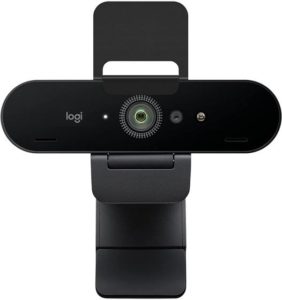
Webcam Recommendations:
Logitech C922x Pro Stream Webcam – $99
Logitech BRIO 4K Webcam – $199
Buy a DSLR Camera: Purchase a fully-fledged video camera that has:
- 4K recording
- Auto lighting adjustment
- Decent low-light functionality
- Flip-screen capability
Try to get a lightweight camera mount tripod stand for when you need your camera to be set to a specific height.
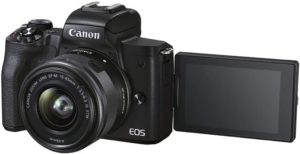
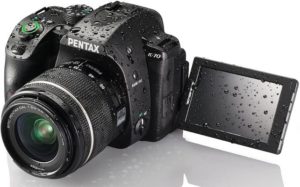
DSLR Camera Recommendations:
Canon EOS M50 Mark II – $699
Pentax K-70 – $696
Lighting
If you want to give your videos an added touch of professionalism, lighting is the way to go. Here are a few lighting tips you can implement while creating videos at home:
Use Natural Light:
- Use what you have around you. Use a room at home that gets good natural (but not direct) sunlight.
- Make sure not to be in glaring sunlight as this will not record well.
- Use indirect, soft, natural light.
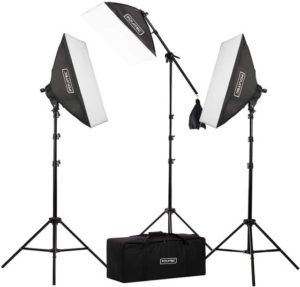
Invest in Softbox Lights: Exactly like the name, these are boxes of soft light, usually on a light stand. They’re also great because softbox lights are portable.
Softbox Light Recommendation:
Fovitec SPK10-037 Three Light 2500W Fluorescent Softbox Lighting Kit – $190
Buy an LED Ring Light: One of the most popular choices – ring lights are LED (so energy-saving) and are designed to eliminate shadows. Most ring lights have dimmable LED lights and can be used as a tripod too.
LED Ring Light Recommendations:
Neewer RL-12 LED Ring Light – $92
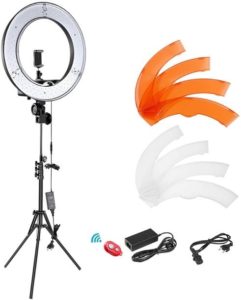
Lume Cube 18″ Cordless Ring Light Kit – $180

Set Up and Location
Making your training environment a comfortable one for learners is crucial. Here are five tips on how to do so:
- Match your setting to your course content: For example, if you’re teaching herb gardening courses, film lessons in your home kitchen, patio, or greenhouse.
- Dedicate larger space: Ensure you have sufficient room to teach, record, and move freely during live sessions.
- Check the lighting: Ensure that your ratio of natural to purchased lighting is good at most times of the day.
- Add mood to your area: Create high-energy spaces with bright colors or tranquil spaces with duller, cooler colors (depending on your course topic).
- Check for sound: Stay away from noisy rooms to ensure your audio is unaffected.
Video Editing Software
Once your videos are recorded, the last step is to edit them. Review these recommended video editing products to help you add the last professional touch to your pieces:
- Adobe Premier Pro – If you’re a fan of the Adobe suite, you can use Adobe Premier Pro, which allows you to do some fine detailing on videos.
- iMovie – this is a free app for Apple users and does a fine job of basic cutting and transitioning.
- Final Cut Pro – If you want to bolster the functionality of iMovie, consider Final Cut Pro – a much more professional and complex software.
Create Professional Videos – Share with Customers via Mastera
Once your videos are recorded, edited, and ready to go, upload them to an advanced video experience platform like Mastera. We take care of the hosting and management of your video content so that you can focus on teaching your passion.
Want to learn more? Chat with us.

Co-Founder, Gleantap & Mastera